Prerequisites
- By default, this Databricks integration makes use of Unity Catalog data governance features. You will need Unity Catalog enabled on your Databricks Workspace.
Step 1: Create a SQL warehouse
Create a new SQL warehouse for data writing.- Log in to the Databricks account.
- In the navigation pane, click into the workspace dropdown and select SQL.
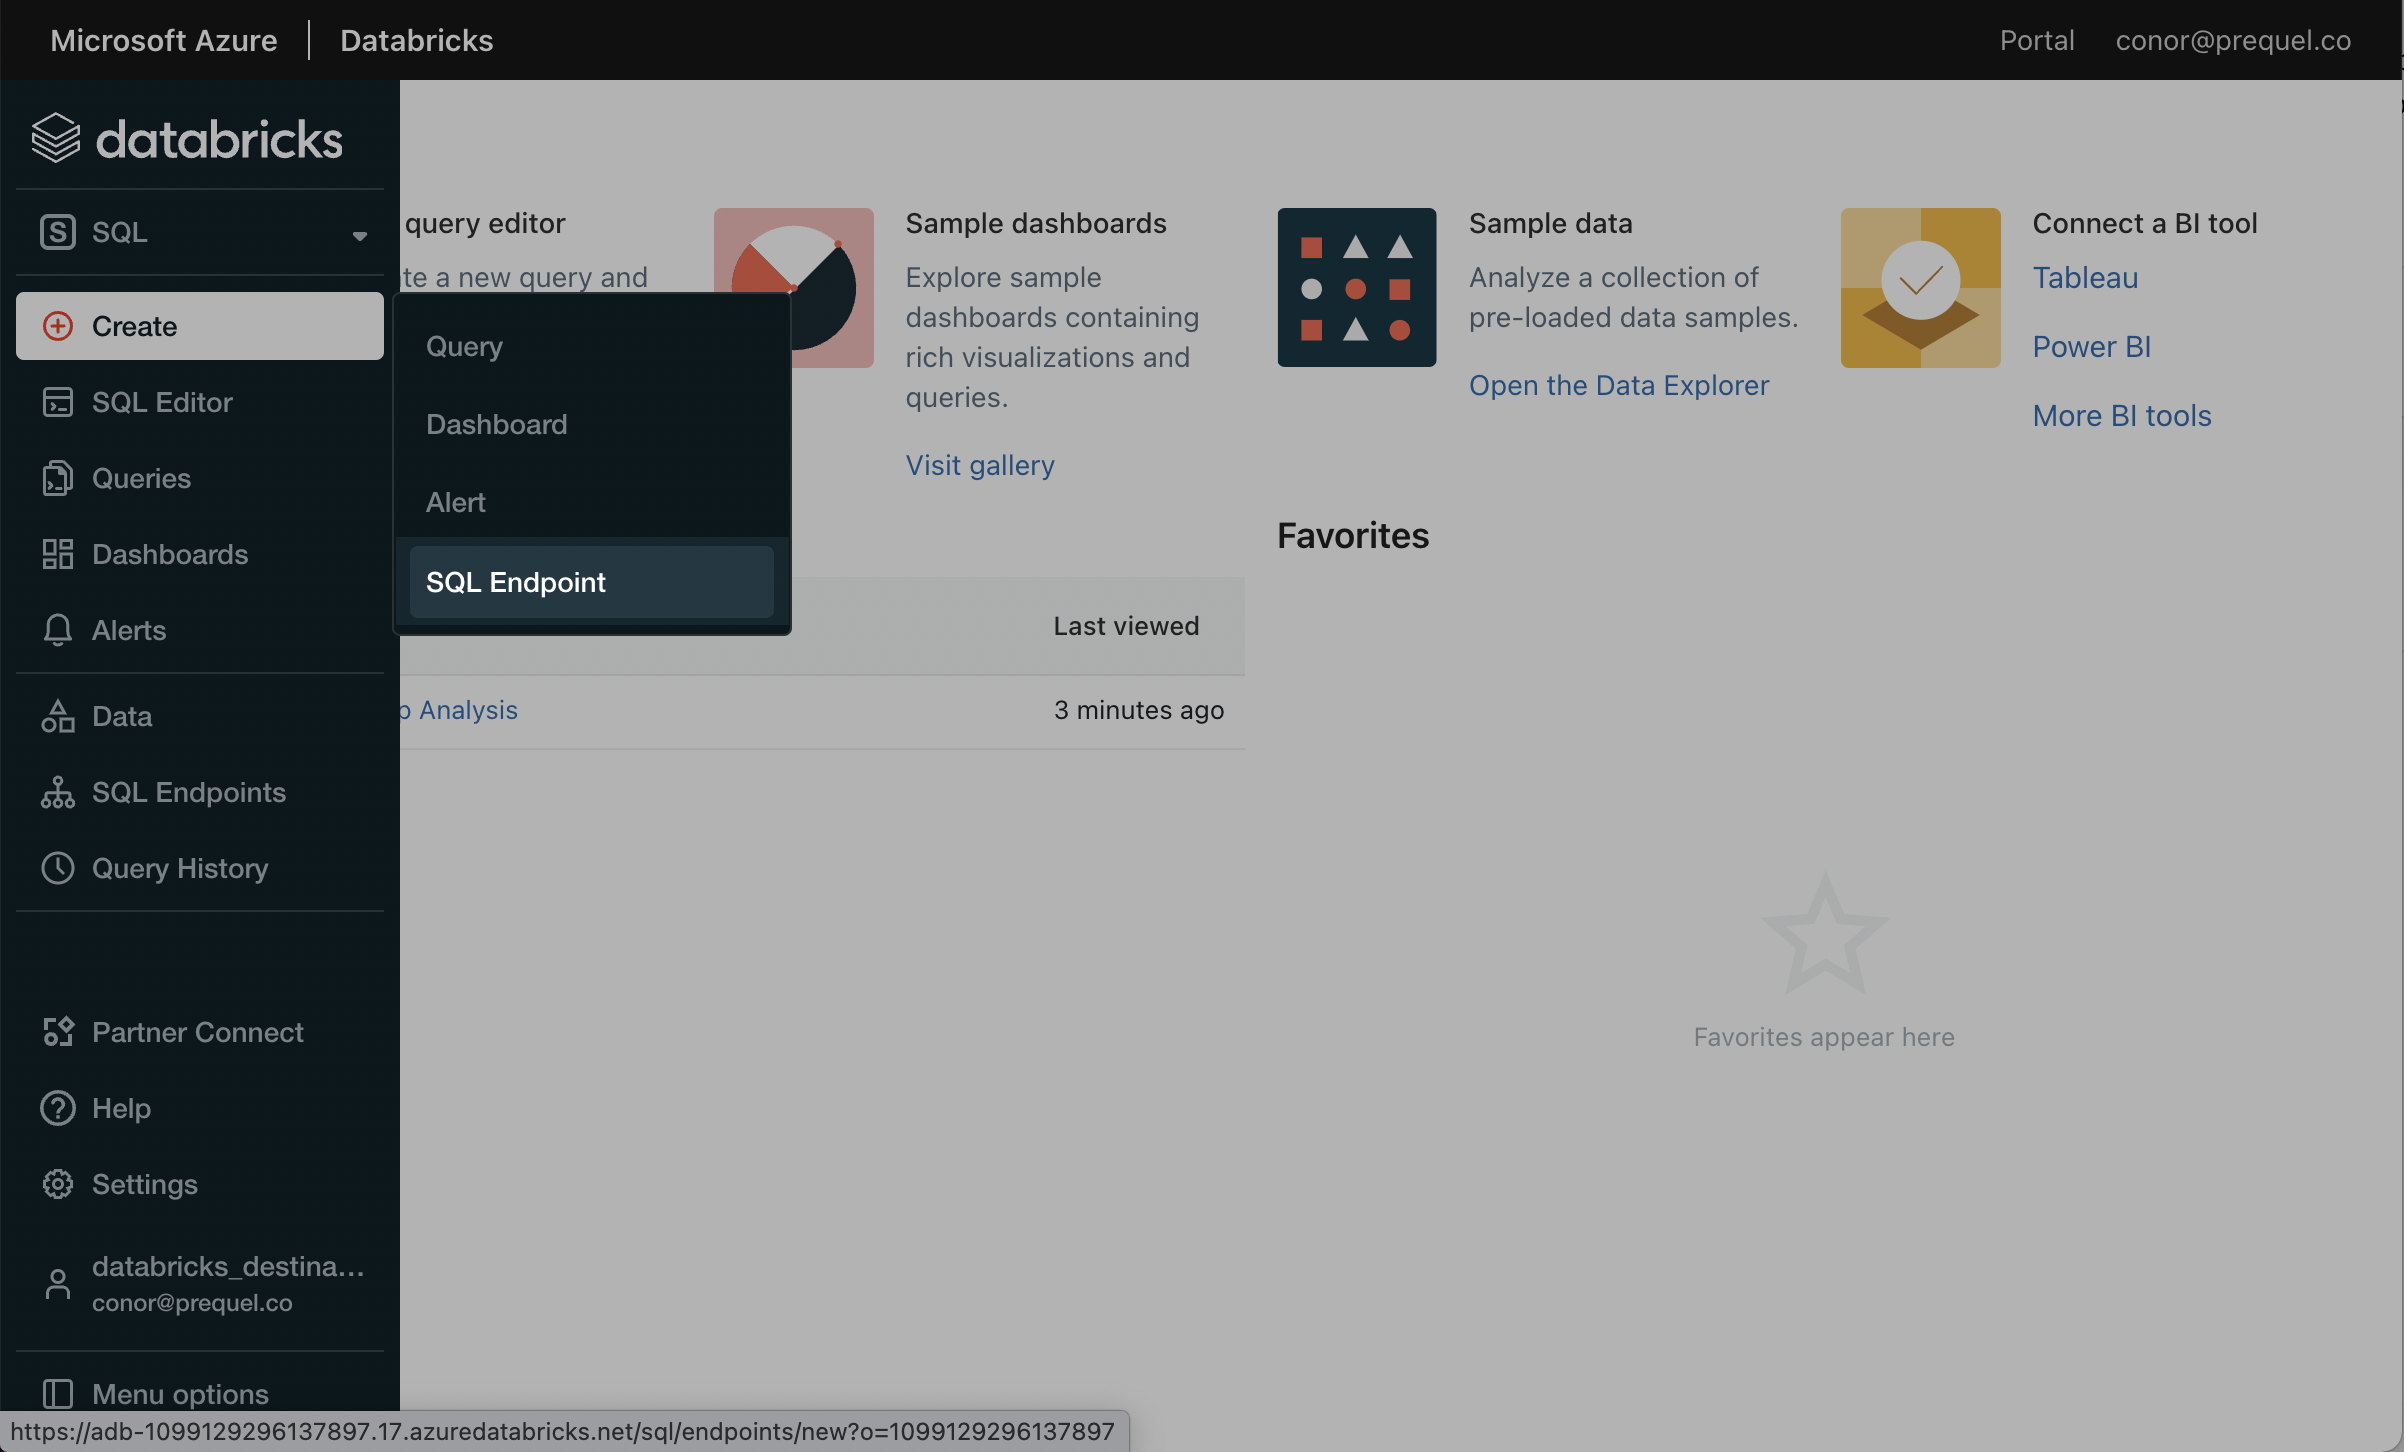
- In the SQL console, in the SQL navigation pane, click Create and then SQL warehouse.
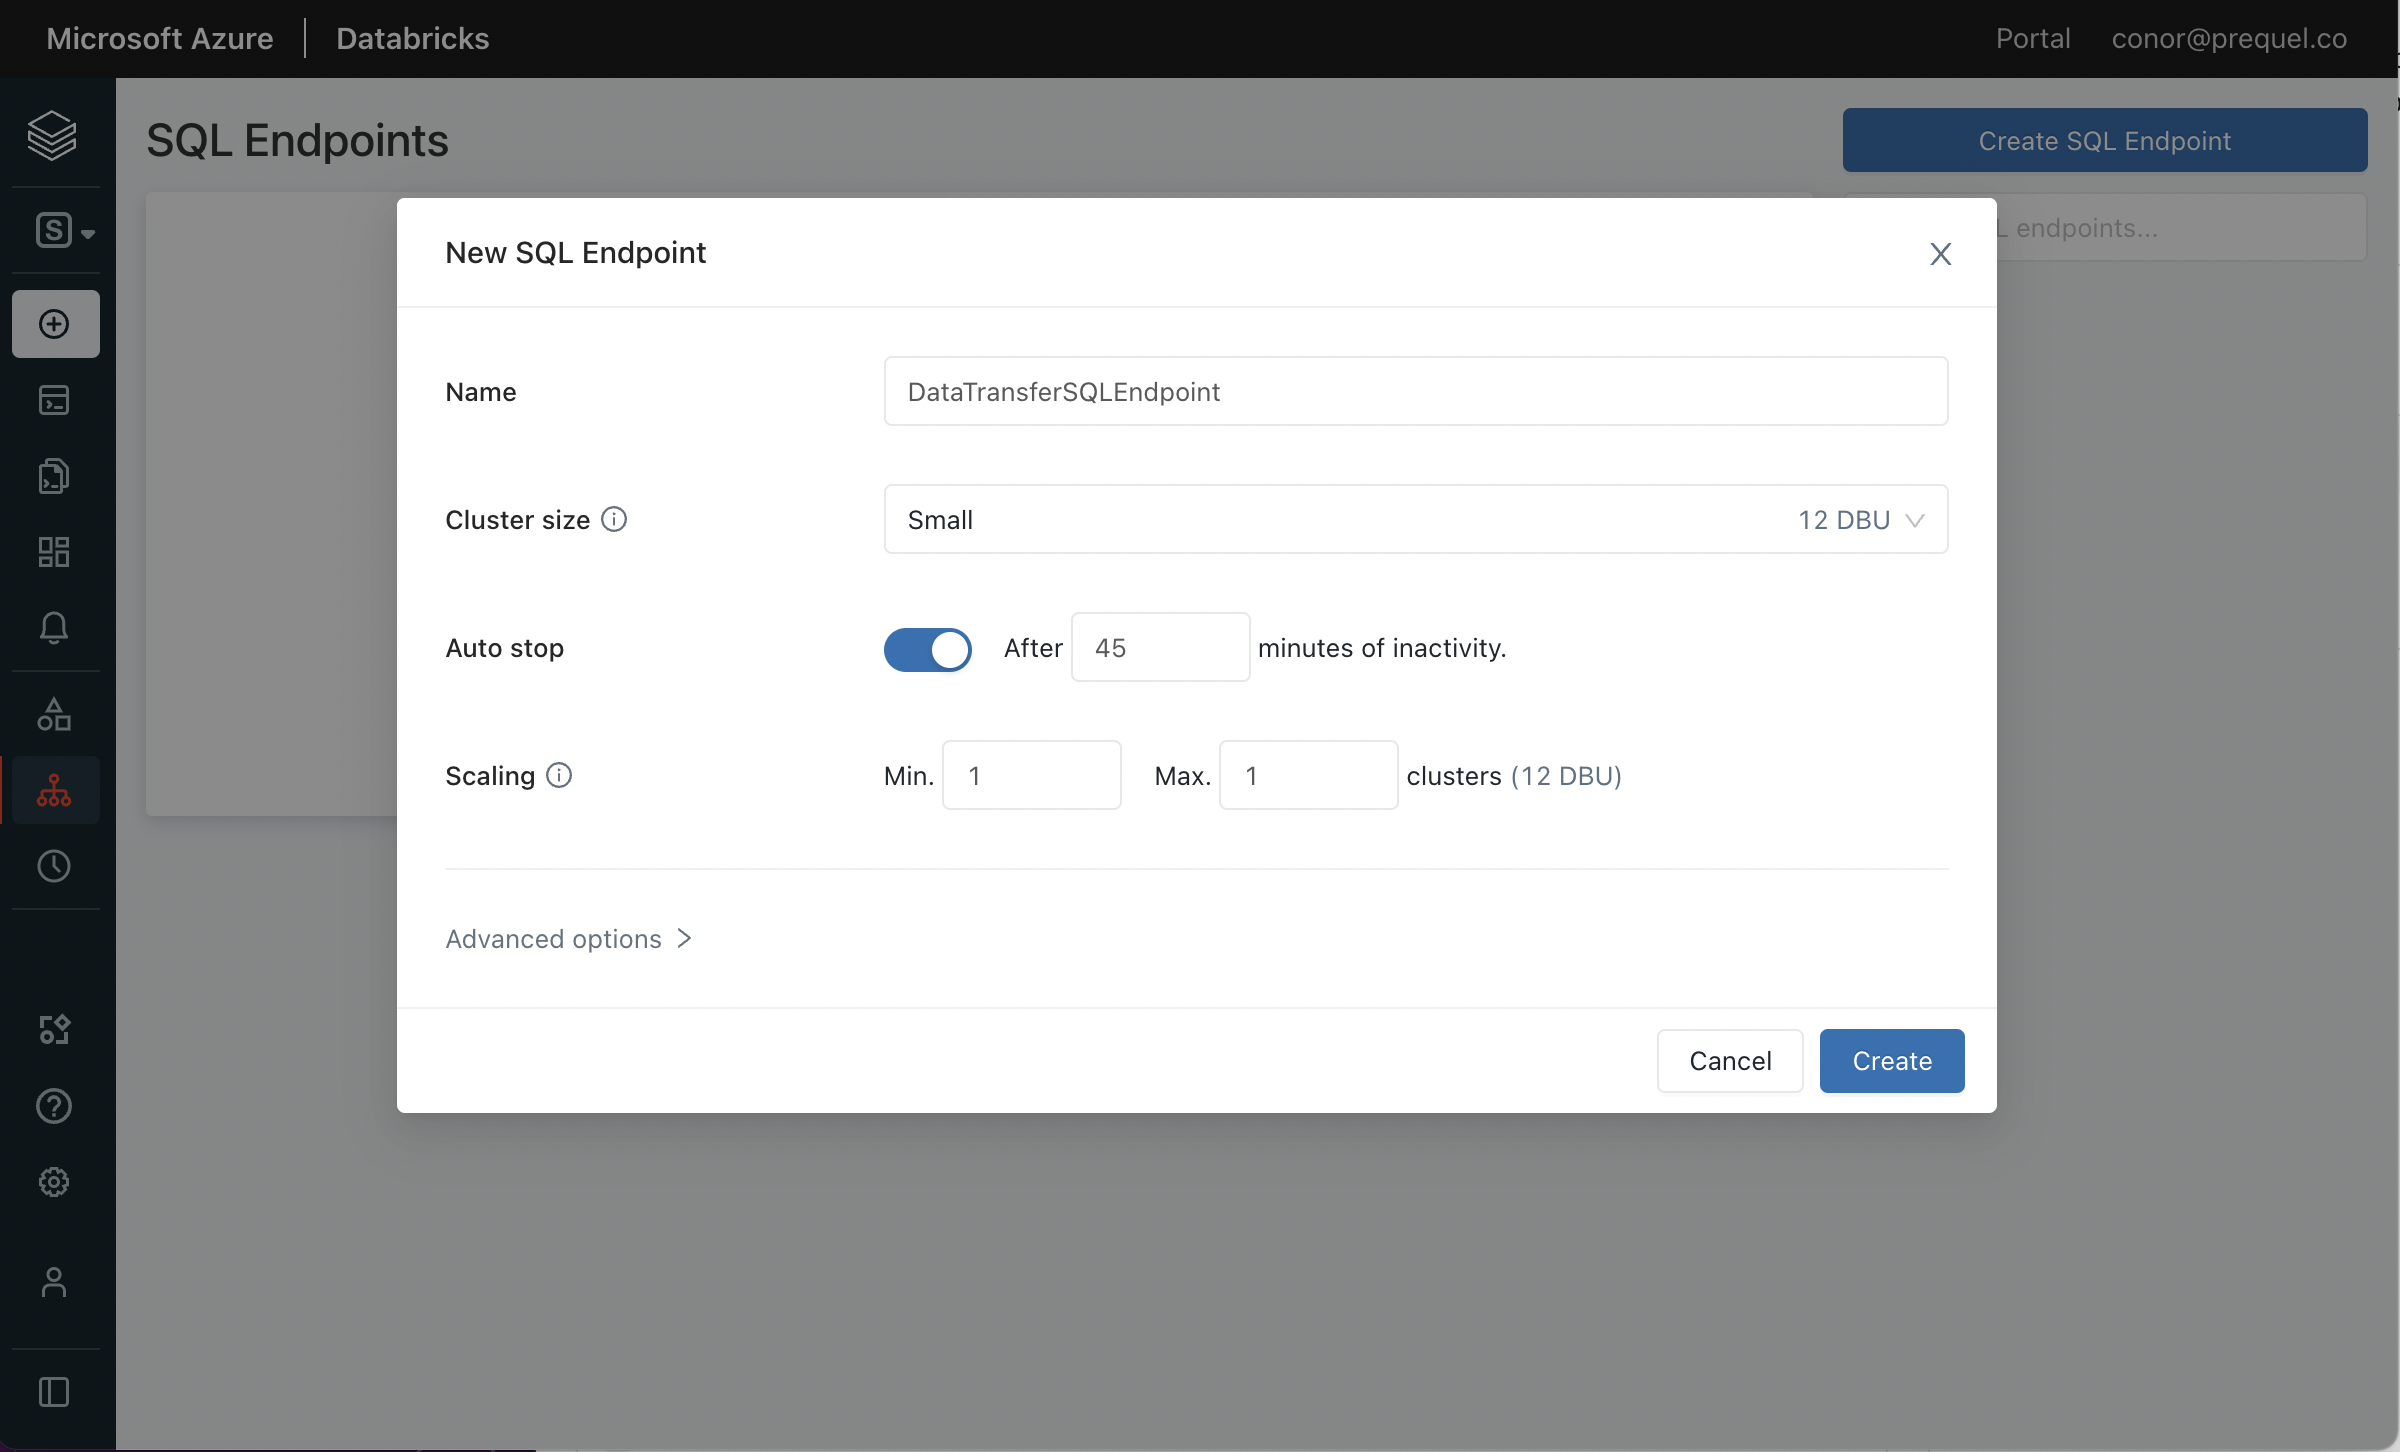
- In the New SQL Warehouse menu, choose a name and configure the options for the new SQL warehouse. Under “Advanced options” turn “Unity Catalog” to the On position, select the Preview channel, and click Create.
Step 2: Configure Access
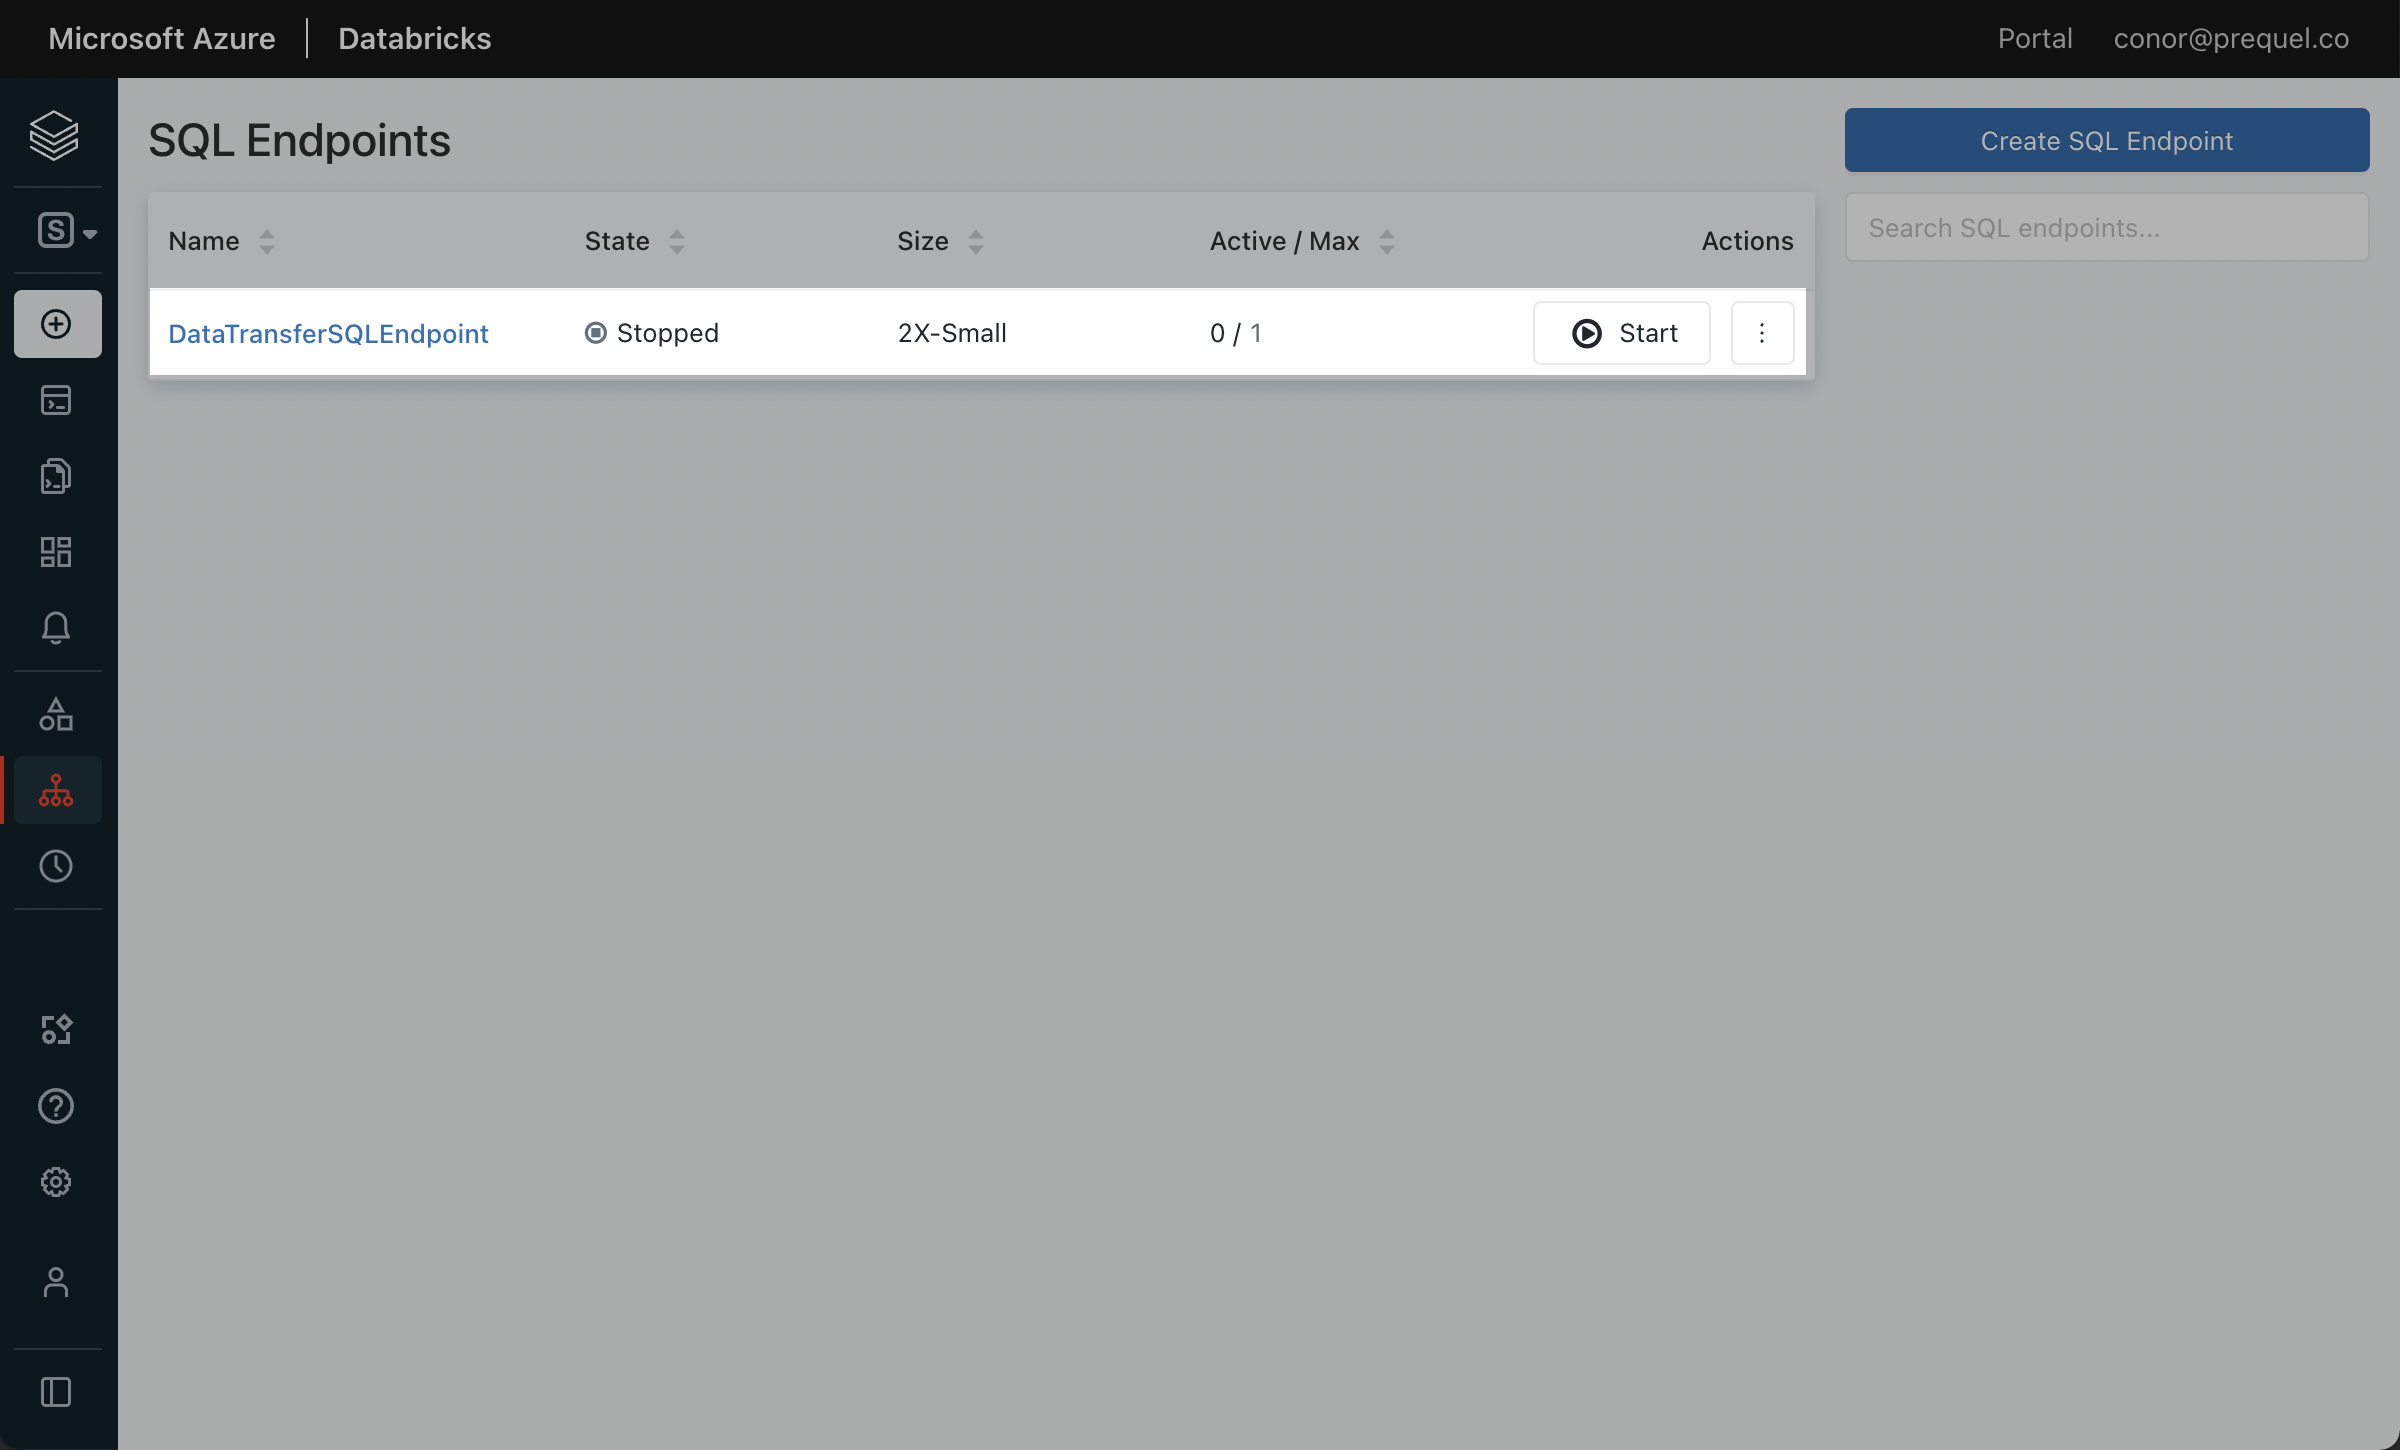
Collect connection information and create an access token for the data transfer service.- In the SQL Warehouses console, select the SQL warehouse you created in Step 1.
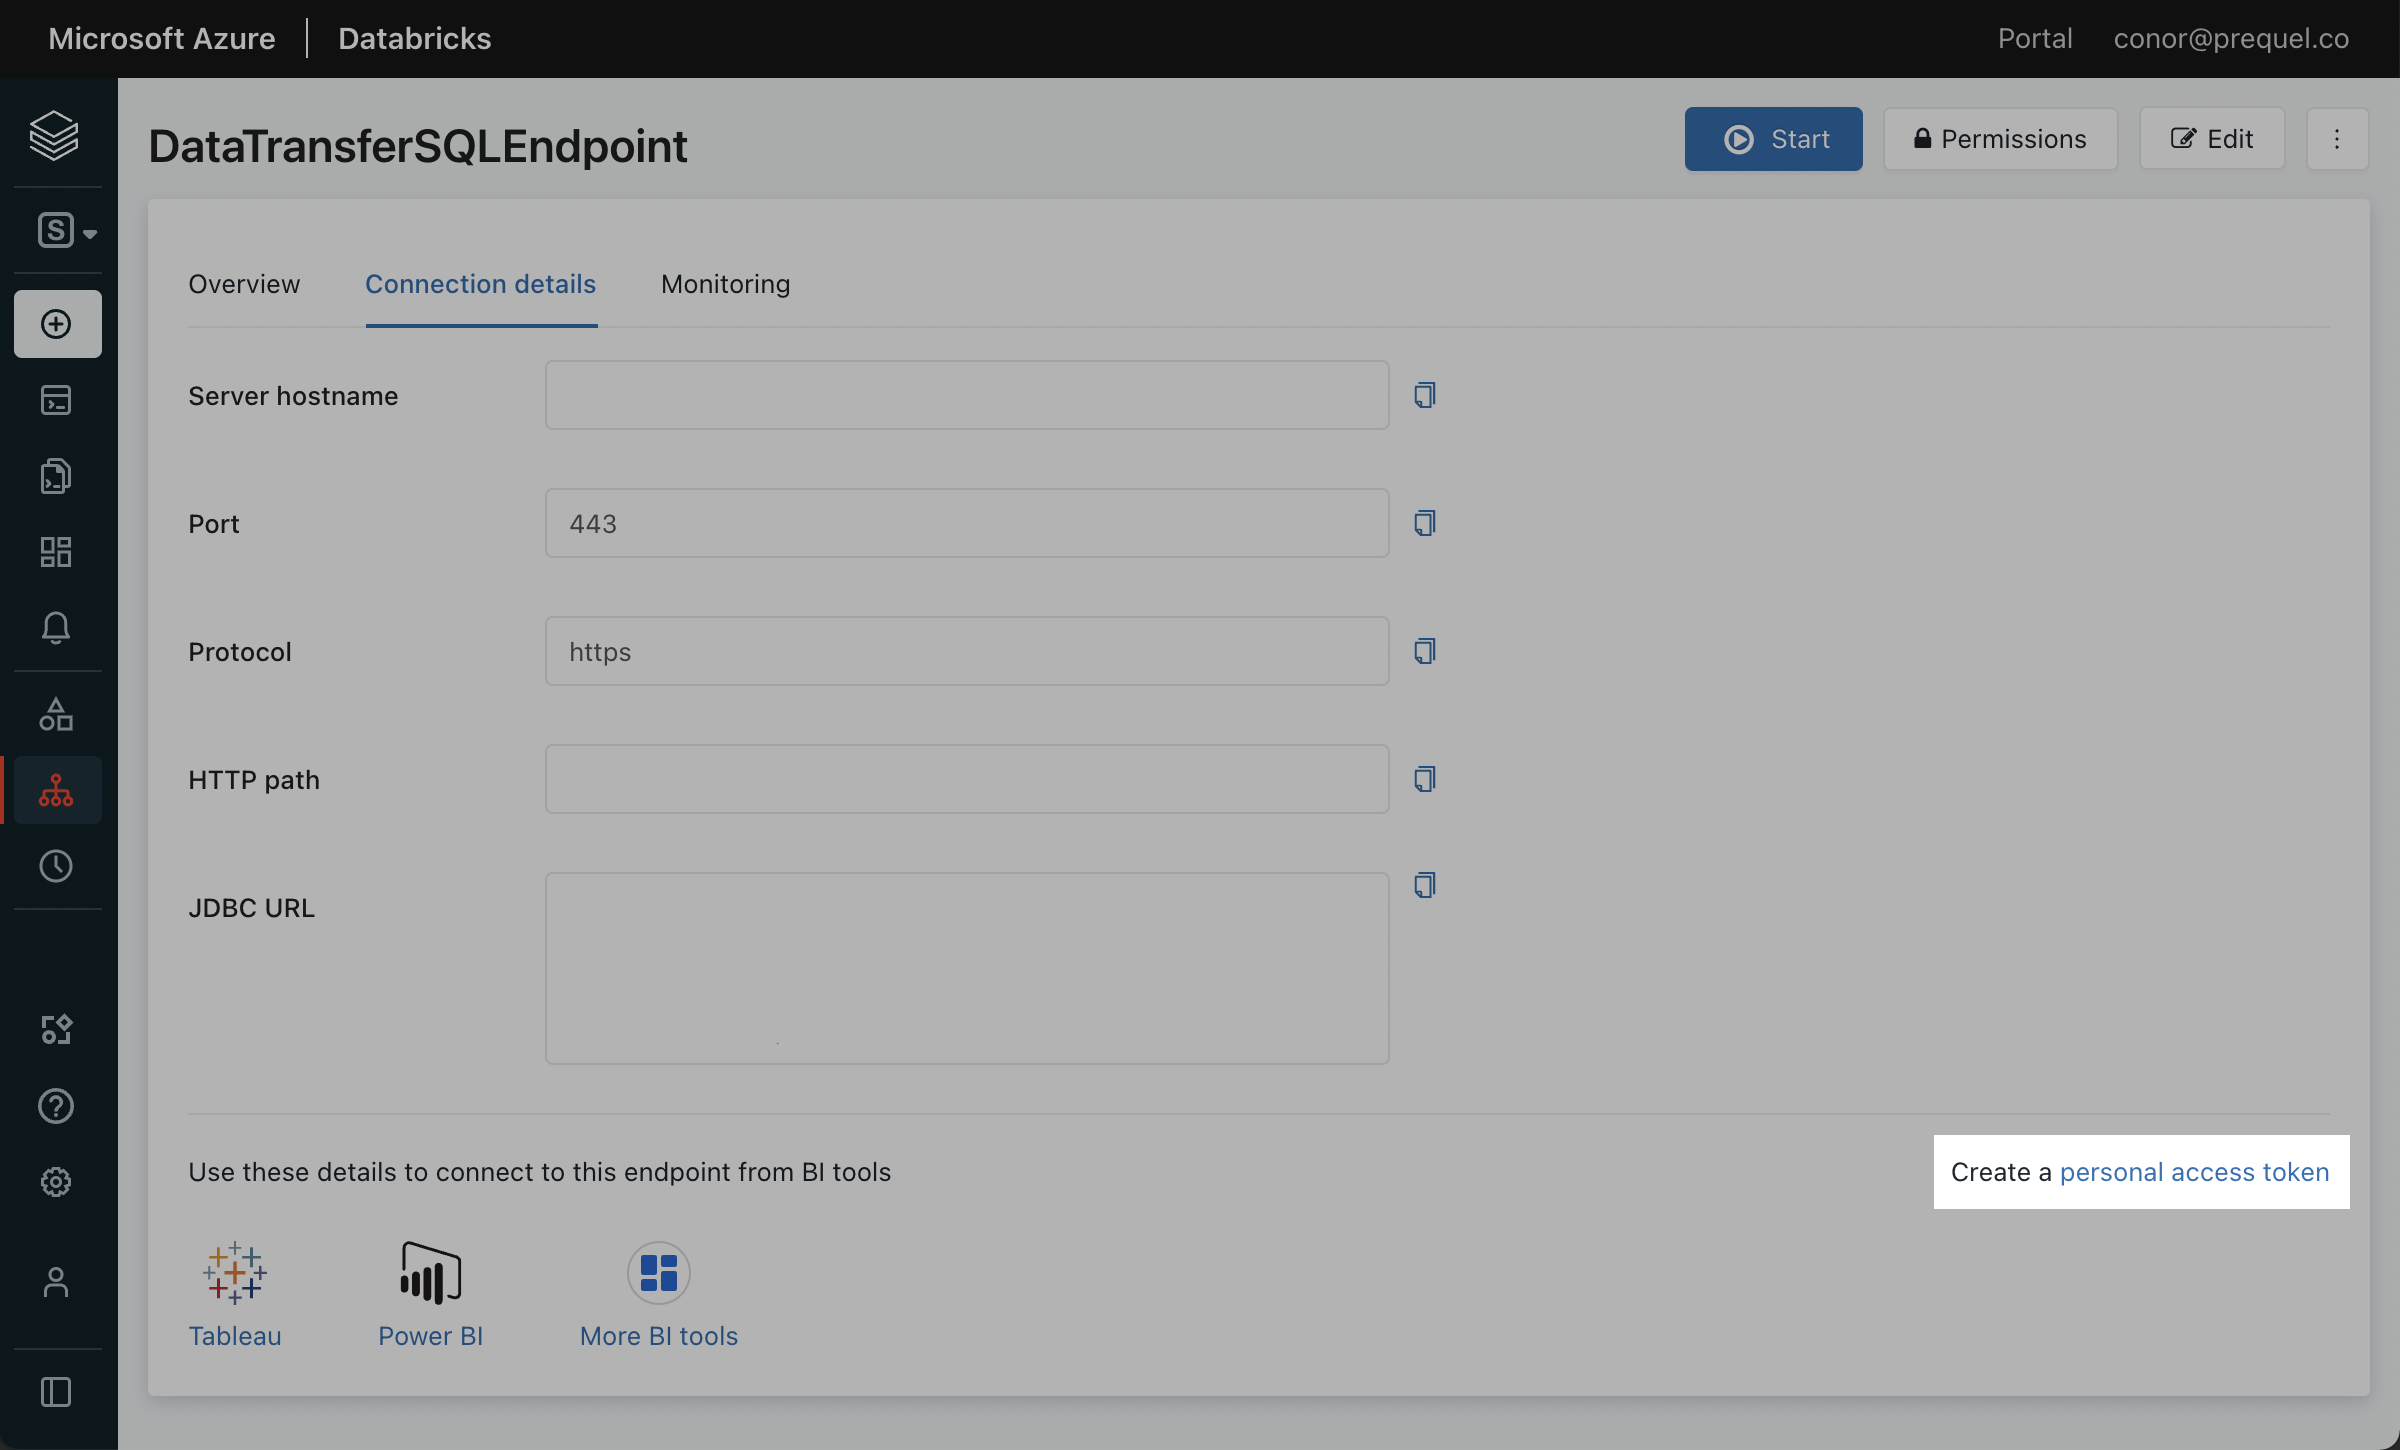
- Click the Connection Details tab, and make a note of the Server hostname, Port, and HTTP path.
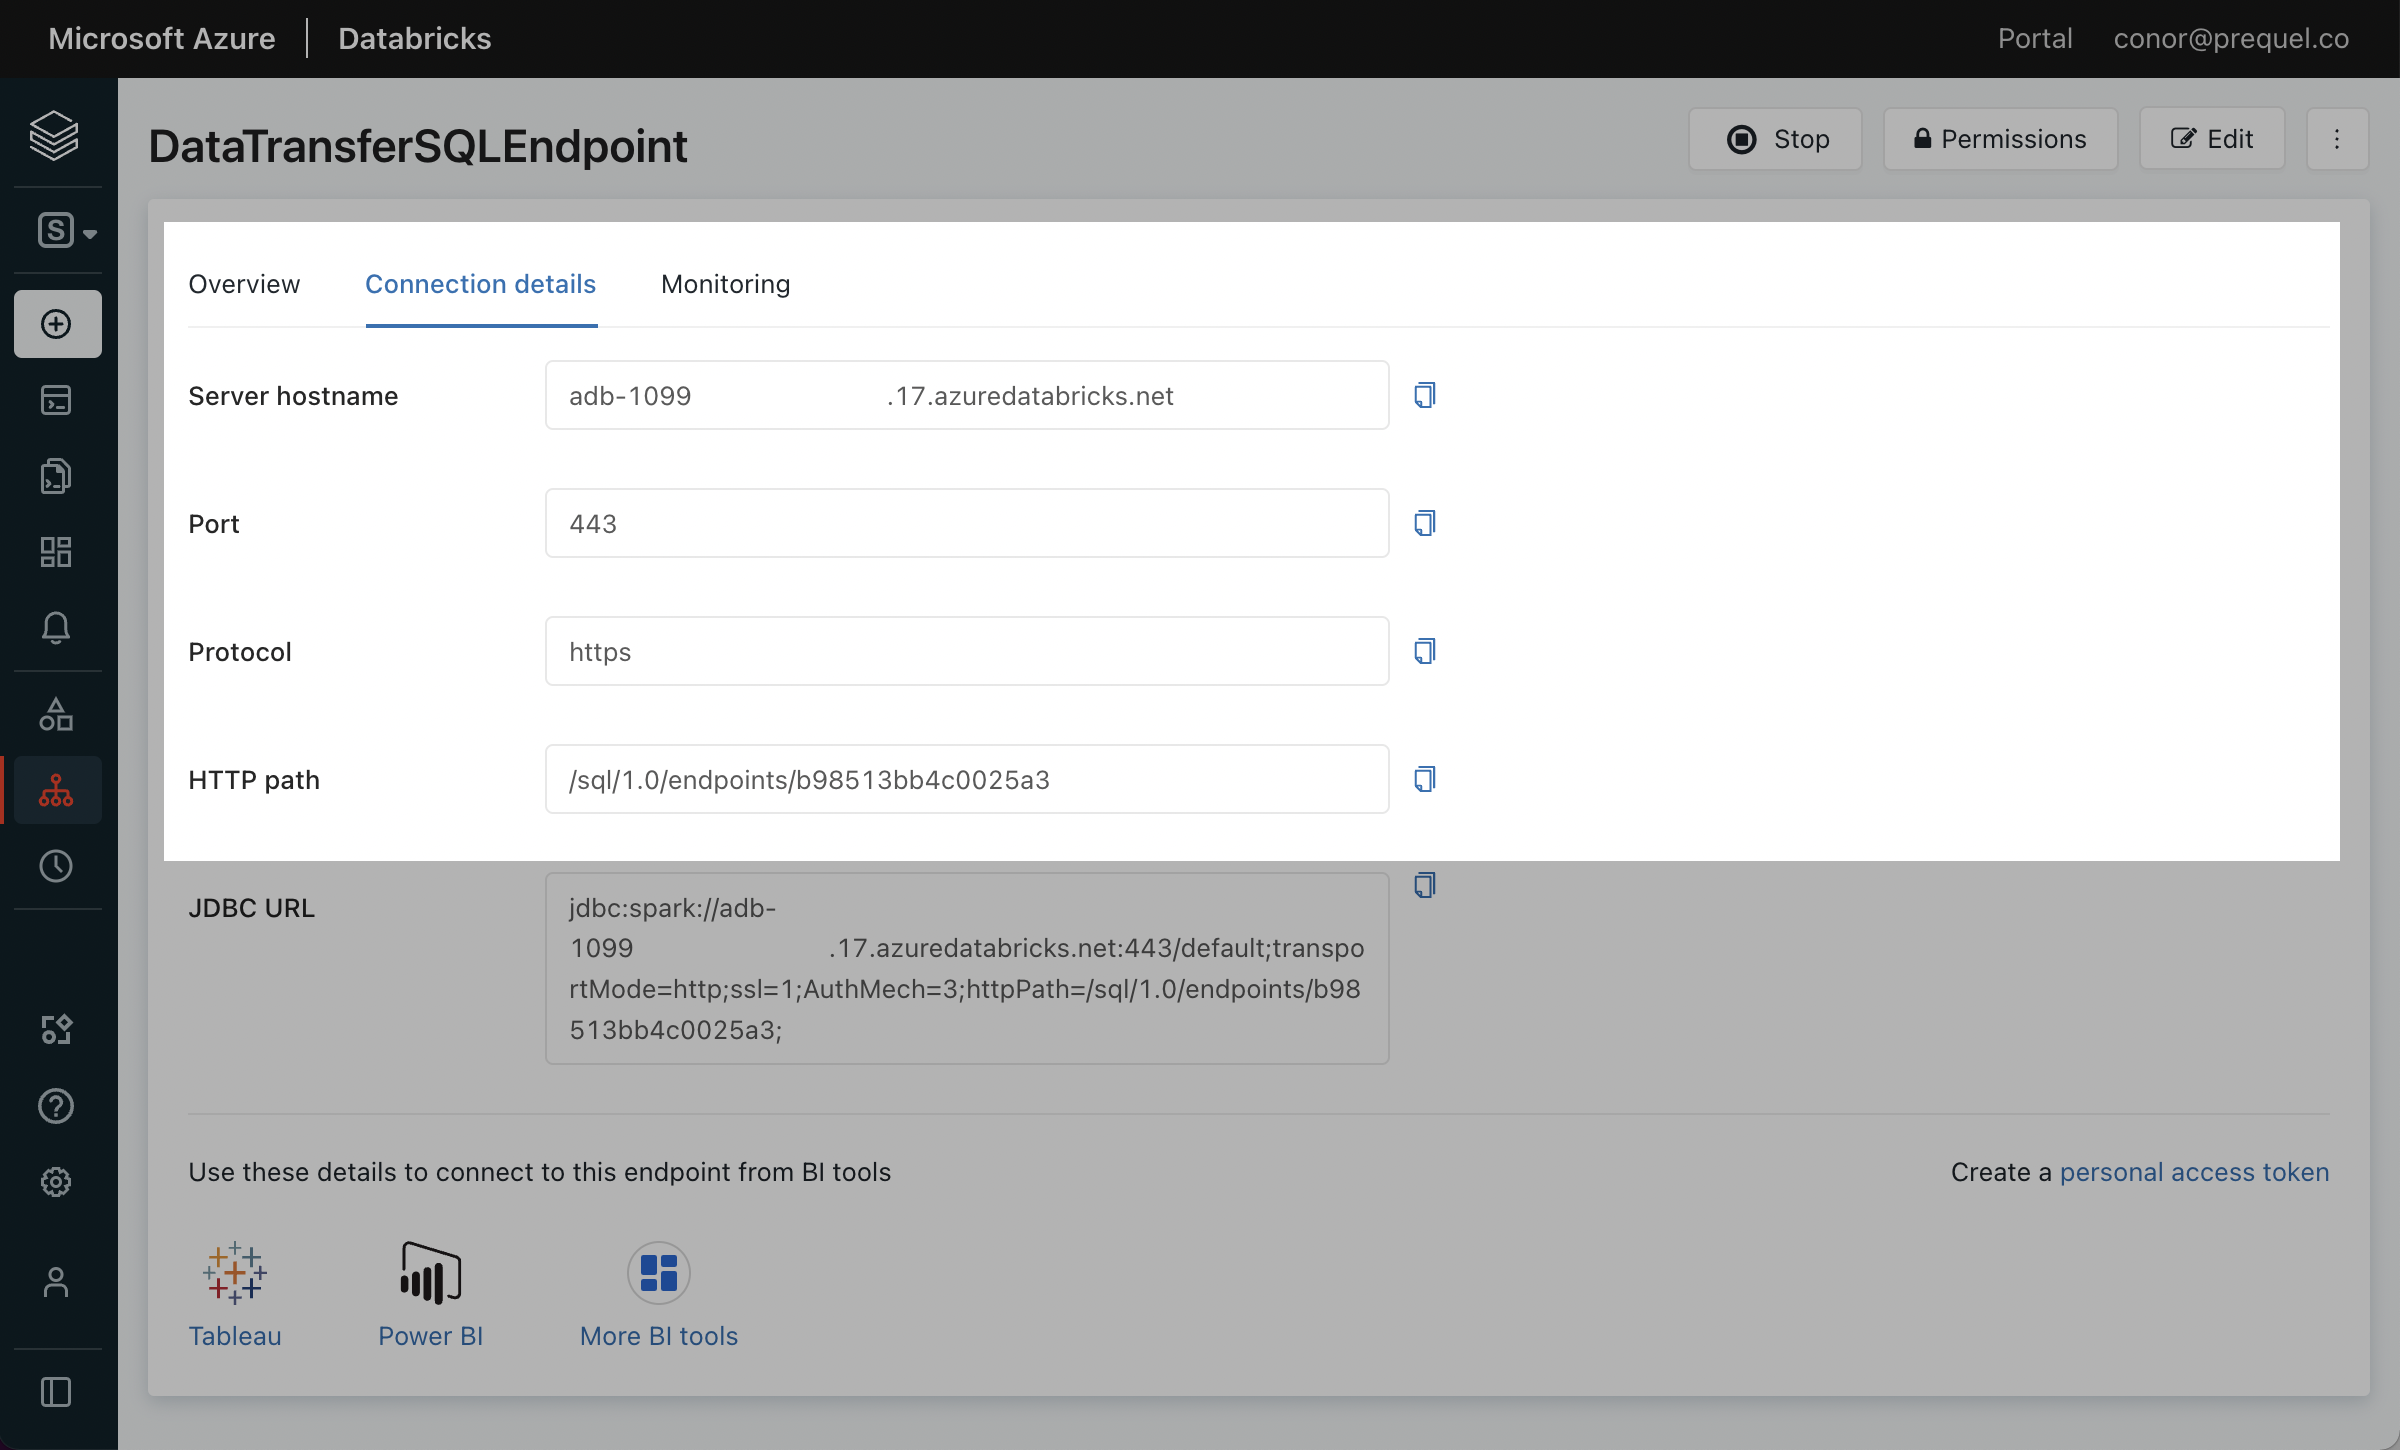
- Click the link to Create a personal access token.
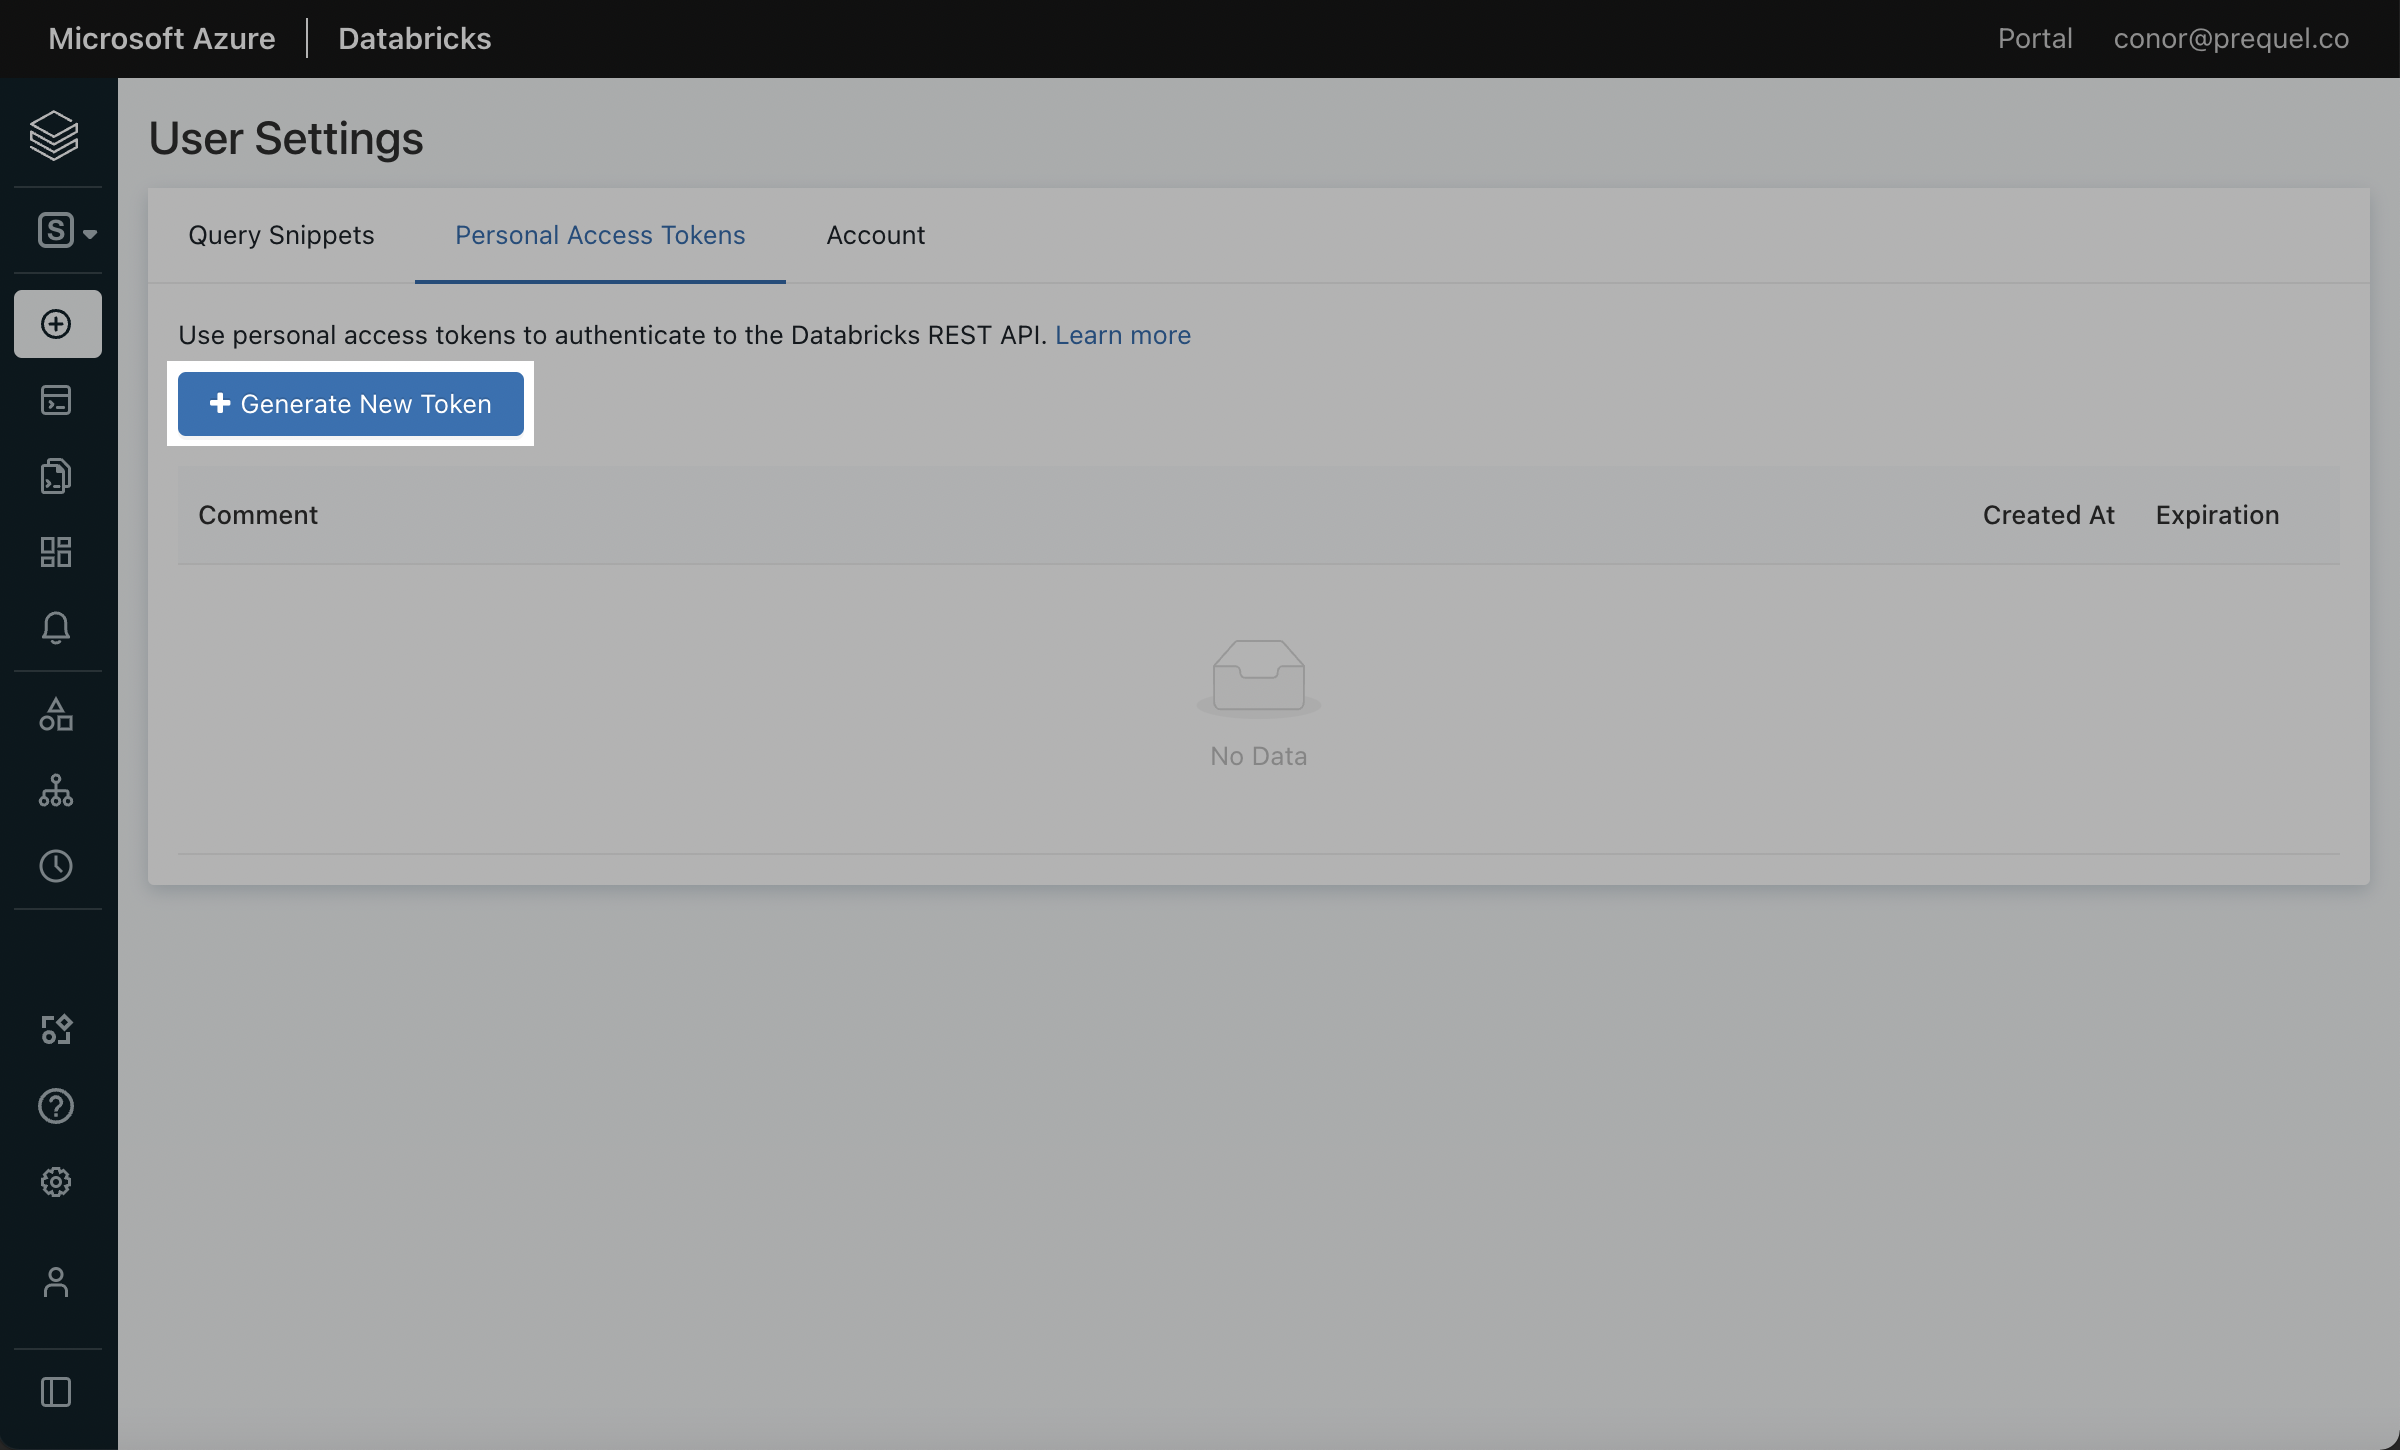
- Click Generate New Token.
- Name the token with a descriptive comment and assign the token lifetime. A longer lifetime will ensure you do not have to update the token as often. Click Generate.
- In the pop up that follows, copy the token and securely save the token.
🚧 Using a Service Principal & Token instead of your Personal Access Token You may prefer to create a Service Principal to use for authentication instead of using a Personal Access Token. To do so, use the following steps to create a Service Principal and generate an access token.
- In your Databricks workspace, click your username in the top right, click Admin Settings, Identity and access, and next to the Service Principals options, click Manage.
- Click the Add service principal button, click Add new in the modal, enter a display name and click Add.
- Click on the newly created Service Principal, and under Entitlements select Databricks SQL Access and Workspace Access. Click Update, and make a note of the Application ID of your newly created Service Principal.
- Back in the Admin Settings menu, click the Advanced section (under the Workspace admin menu). In the Access Control section, next to the Personal Access Tokens row, click Permission Settings. Search for and select the Service Principal you created, select the Can use permission, click Add, and then Save.
- Navigate back to the SQL Warehouses section of your Workspace, click the SQL Warehouses tab, and select the SQL Warehouse you created in Step 1. Click Permissions in the top right, search for and select the Service Principal you created, select the Can use permission, and click Add.
- Use your terminal to generate a Service Principal Access Token using your Personal Access Token generated above. Record the token value. This token can now be used as the access token for the connection.
cURL request
- In the Databricks UI, select the Catalog tab, and select the target Catalog. Within the catalog Permissions tab, click Grant. In the following modal, select the principal for which you generated the access token, select
USE CATALOG, and click Grant. - Under the target Catalog, select the target schema (e.g.,
main.default, or create a new target schema). Within the schema Permissions tab, click Grant. In the following modal, select the principal for which you generated the access token, and select eitherALL PRIVILEGESor the following 9 privileges and then click Grant:
USE SCHEMAAPPLY TAGMODIFYREAD VOLUMESELECTWRITE VOLUMECREATE MATERIALIZED VIEWCREATE TABLECREATE VOLUME
Step 3: Add your destination
- Securely share your server hostname, HTTP path, catalog, your chosen schema name, and access token with us to complete the connection.